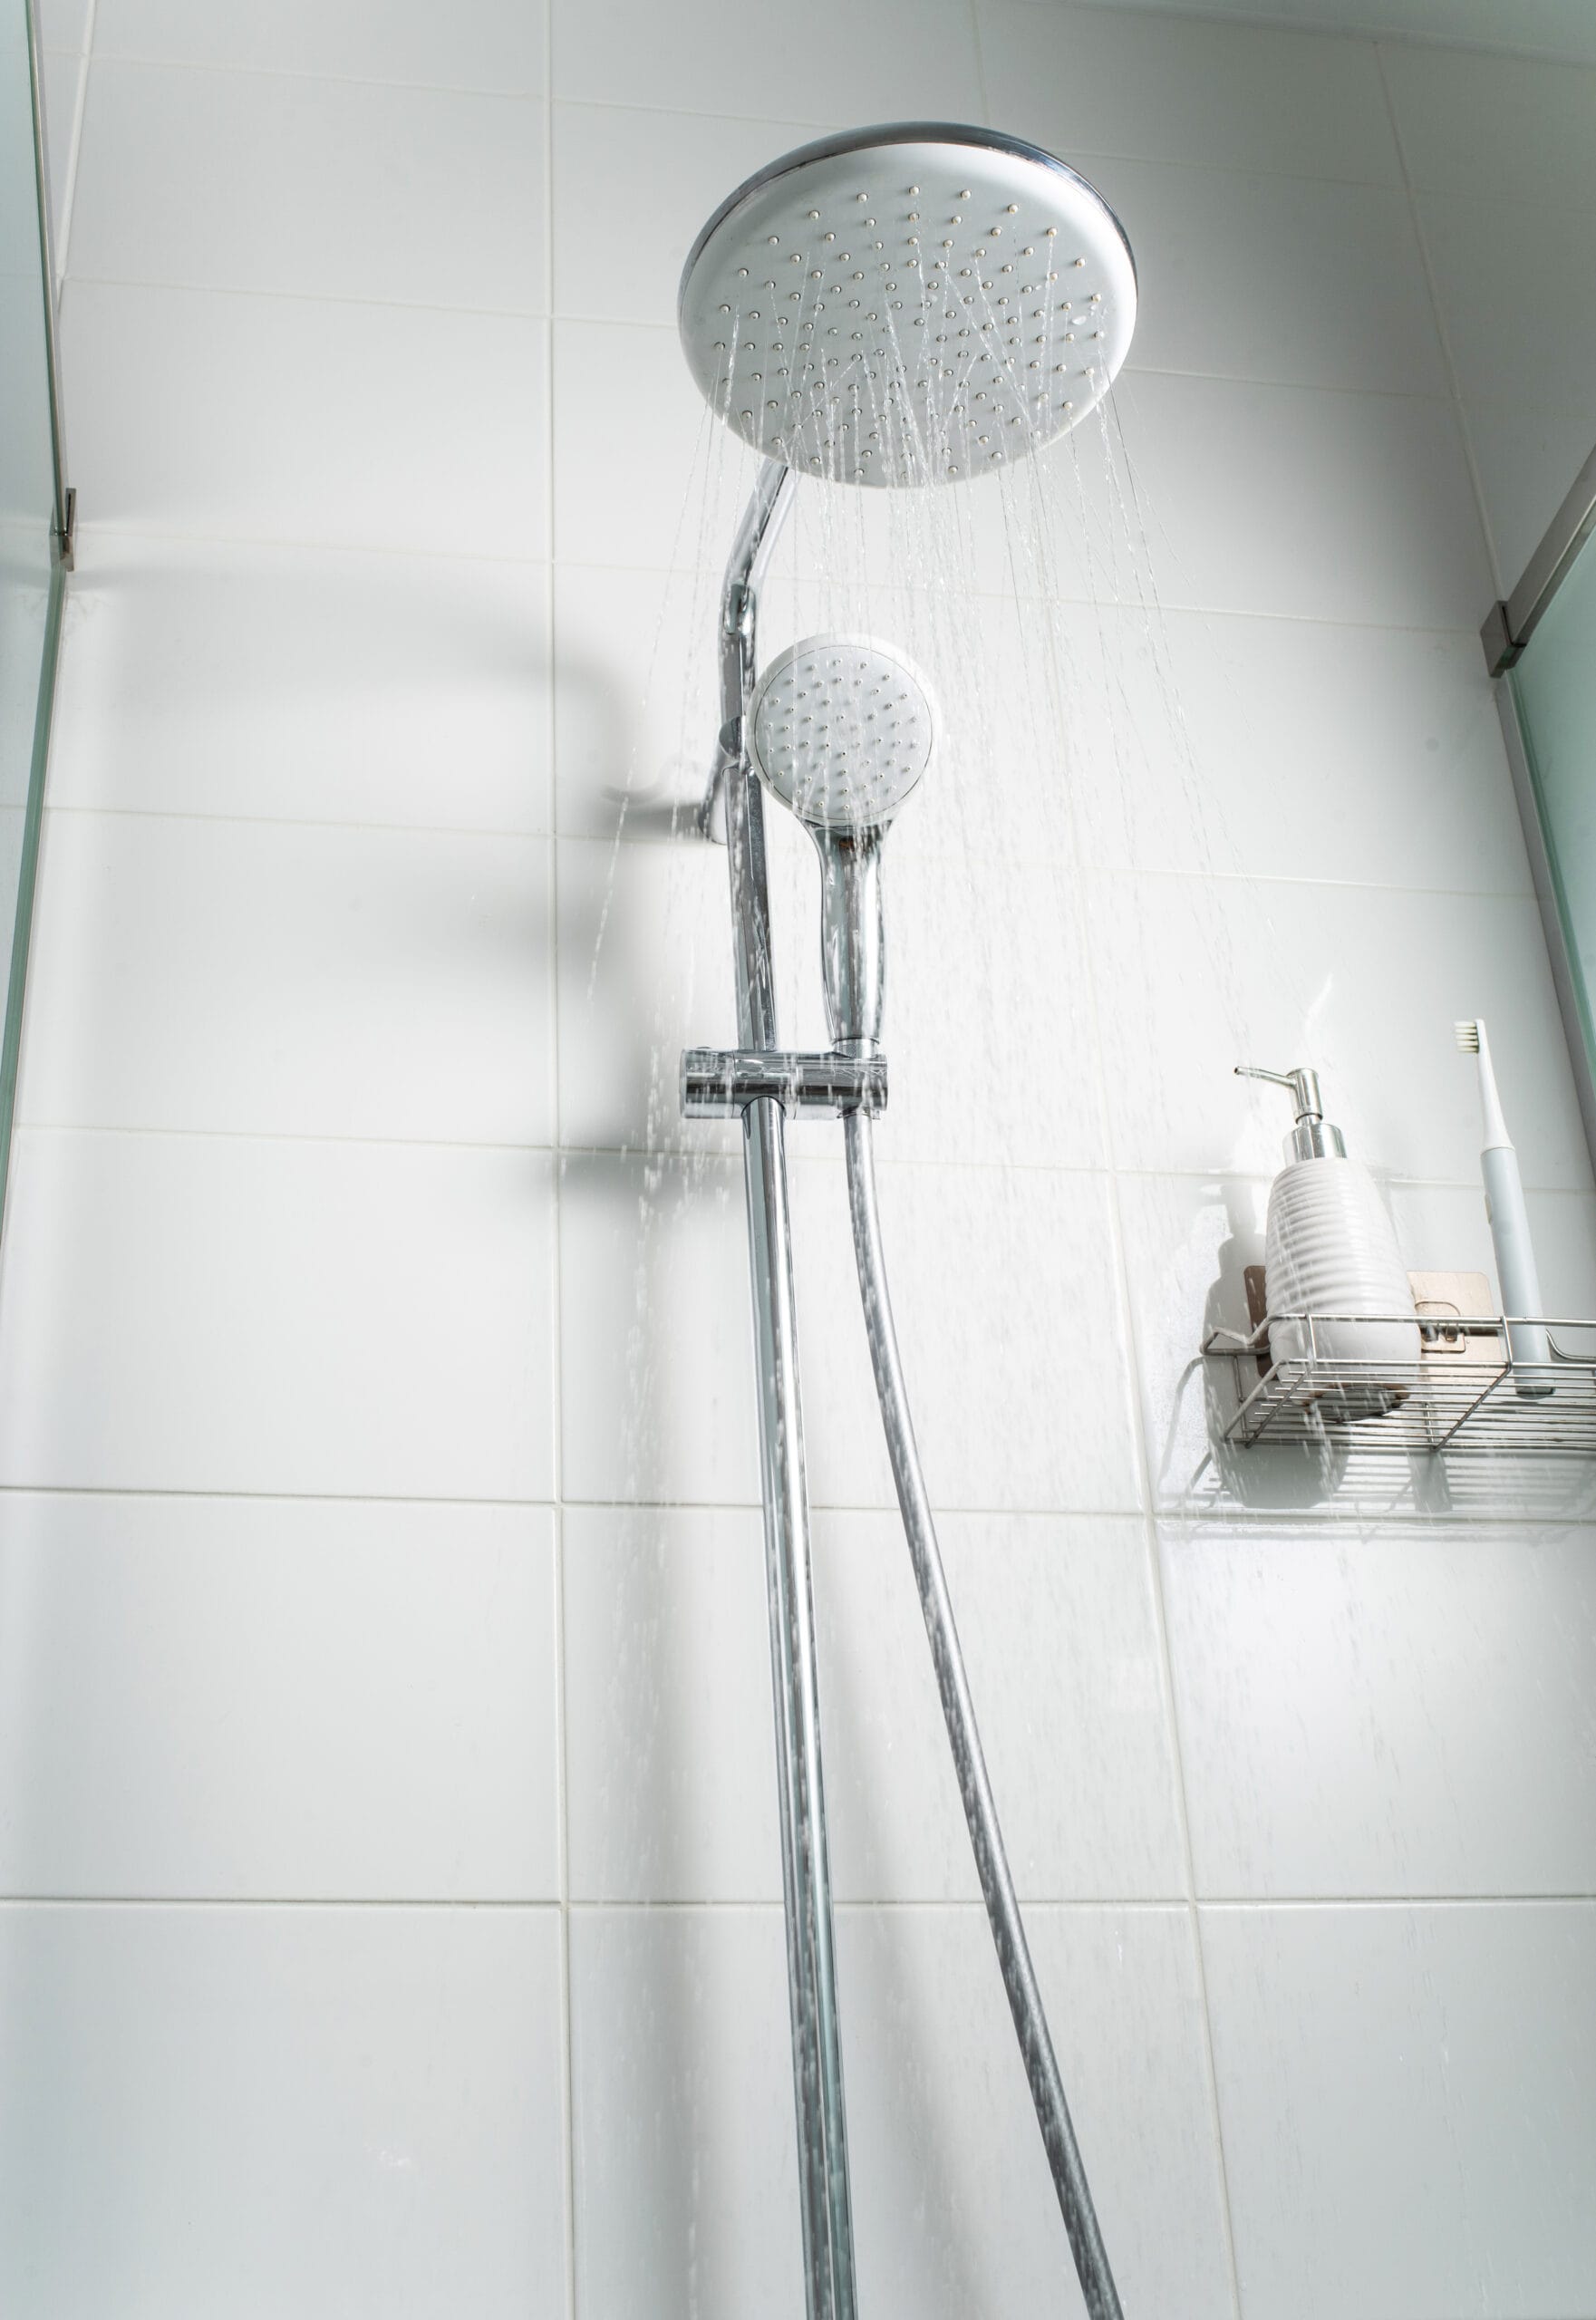
A dripping shower head is one of those problems that is easy to ignore. It is just a few drops, right? But those drops add up faster than most homeowners realise. A shower head dripping at a steady rate can waste anywhere from 9,000 to 18,000 litres of water per year, depending on the severity of the water leak Melton. That is a direct hit to your water bill, and it can also cause tile damage, grout deterioration, mould growth, and in some cases signal a deeper problem with your shower’s internal components.
This guide covers everything you need to know about how to stop a leaking shower head, from diagnosing the cause through to the step-by-step fix for each common fault. It also covers the situations where a DIY repair reaches its limits and a licensed plumber is the right call. Whether you are dealing with a drip that has been going for weeks or a shower that suddenly will not stop running after you turn it off, the information here will help you understand what is happening and what to do about it.
Why a Leaking Shower Head Is a Bigger Problem Than It Looks
Before getting into the fix, it is worth understanding exactly what a dripping shower is costing you and your home. Many homeowners put off shower repairs because the problem seems minor. The reality is different.
- Water waste and bill impact: A shower head dripping once per second wastes approximately 31 litres per day, or over 11,000 litres per year. South East Water charges for every litre used, so a persistent drip is adding a measurable amount to your quarterly water bill. For a household on a tight budget, this is unnecessary and entirely avoidable spending.
- Tile and grout damage: Water constantly dripping onto the same tiles and grout lines accelerates their deterioration. Over time, constant moisture loosens grout, allowing water to seep behind tiles and into the wall substrate. In severe cases this leads to waterproofing failure behind the wall, which is a significantly more expensive problem to fix than the original shower leak.
- Mould and mildew growth: Persistent moisture from a dripping shower creates ideal conditions for mould and mildew. This affects air quality in the bathroom and can spread to adjacent walls and ceiling cavities, particularly in bathrooms with limited ventilation, which is common in many older Melton homes.
- Potential underlying issues: A shower head that drips after being turned off can sometimes indicate that water pressure in the home is too high, or that internal shower components are worn beyond a simple washer replacement. Fixing the symptom without identifying the cause means the problem will return.
Why Is My Shower Head Dripping When the Water Is Off?
The first step in stopping a leaking shower head is understanding what is causing it. There are five common causes, and the fix varies significantly depending on which one applies to your shower.
Worn Rubber Washers or O-Rings
Rubber washers and O-rings are the sealing components inside your shower tap that prevent water from passing through when the tap is in the closed position. Over time, the rubber deteriorates, hardens, or cracks, and the seal fails. This is the most common cause of a dripping shower in Australian homes and is typically the first thing a plumber Melton checks.
- How to identify this cause: If the drip comes from the shower head itself rather than the wall fitting or handle area, and your shower has separate hot and cold taps (rather than a single mixer handle), a worn washer in one of the tap bodies is the most likely culprit.
- Lifespan of washers: In areas with harder water, such as parts of the Bacchus Marsh and Moorabool corridor, mineral content in the water accelerates washer deterioration. Washers in hard water areas may need replacing every five to seven years rather than the typical ten years in softer water areas.
Limescale or Mineral Build-Up Inside the Shower Head
Hard water deposits calcium and magnesium minerals on every surface it contacts. Inside a shower head, this build-up can partially block the spray nozzles and also prevent the internal diaphragm or seal from closing fully, allowing water to continue dripping after the tap is shut off.
- How to identify this cause: Visible white or yellowish scale deposits on the nozzle face of the shower head, uneven or spluttering spray patterns, or reduced water flow are all signs of mineral build-up. If you remove the shower head and can see scale inside the body, this is contributing to or causing the drip.
- Regional relevance: Water hardness varies across the greater Melton and Bacchus Marsh area depending on the source water and distribution network. If you notice scale on your taps and tiles, your water has a higher mineral content and you should clean the shower head more frequently.
A Faulty or Worn Cartridge Valve
Modern shower mixers — the type with a single handle that controls both temperature and flow — use a ceramic or composite cartridge rather than traditional washers. The cartridge contains precise channels that align when the handle is turned to control water flow and temperature. When the cartridge wears out or its seals degrade, it allows water to pass through even in the off position.
- How to identify this cause: If your shower has a single lever or dial handle and the drip persists after cleaning the shower head and checking connections, a faulty cartridge is the likely cause. Cartridge replacement is more involved than a washer swap and generally requires the correct replacement part for the specific brand and model.
- Brand matching matters: Cartridges from different brands are not interchangeable. A Methven cartridge will not fit a Grohe or Caroma valve body. When replacing a cartridge, the old one needs to be taken to a plumbing supplier or the model number confirmed before purchasing a replacement.
A Faulty Diverter Valve
In showers that share a bath spout — where a diverter sends water either to the shower head or the bath tap — a worn or partially blocked diverter valve can allow water to continue trickling from the shower head even after the valve is switched back to the bath position.
- How to identify this cause: If the drip only occurs when the diverter is set to bath mode, or if pulling the diverter does not fully redirect water to the shower head, the diverter is the problem. Diverters can be blocked by mineral build-up or physically worn from years of use.
- Simple test: With the water running to the bath, pull the diverter fully. If the flow to the shower head continues rather than stopping completely, the diverter is not sealing correctly.
Excessive Water Pressure
If your home’s water pressure is too high, it can force water past seals and washers even when the tap is fully closed, causing a persistent drip from the shower head. The recommended water pressure for residential properties in Victoria is between 200 and 500 kilopascals (kPa) at the point of use. Pressures above this threshold accelerate wear on all tap components and are a common cause of recurring leaks that return shortly after a repair.
- Signs of high pressure: Taps that feel hard to turn off fully, water that spurts out of the tap when first opened, or shower heads that drip immediately after being turned off rather than draining residual water slowly, are all signs of elevated pressure.
- How to check: A plumber can check your home’s water pressure with a gauge attached to an outdoor tap. If pressure is above 500 kPa, a pressure limiting valve (PLV) may need to be installed or adjusted on the water supply line entering the property.
How to Fix a Dripping Shower Head: Step-by-Step
The following steps address the most common causes of shower head leaks in order from simplest to most complex. Work through them in sequence, testing after each step before moving to the next. Before starting any of these steps, turn off the water supply to the shower. In most homes, there will be a local isolating valve behind an access panel or under the vanity. If not, you will need to shut off the water at the mains.
Step 1: Remove and Clean the Shower Head
This is the simplest fix and should always be the first step. Mineral build-up preventing the shower head from sealing properly is a common cause that is easily resolved without replacing any parts.
- Wrap a cloth around the shower arm connection to protect the finish, then unscrew the shower head counterclockwise using an adjustable wrench.
- Fill a bowl with white vinegar and submerge the shower head completely. Leave it to soak for at least eight hours, or overnight for heavily scaled units. Vinegar dissolves calcium and magnesium mineral deposits without damaging the chrome or plastic finish.
- After soaking, scrub the nozzle face with an old toothbrush, clearing any blocked holes with a toothpick or pin. Rinse thoroughly with water.
- Before reattaching, wrap three to four layers of plumber’s thread tape (PTFE tape) clockwise around the shower arm threads. This ensures a watertight seal at the connection point.
- Reattach the shower head hand-tight, then give it a quarter turn with the wrench. Turn the water back on and check whether the drip has stopped.
Step 2: Replace the Washers and O-Rings
If cleaning the shower head did not resolve the drip, the internal washers or O-rings in the tap body are the next suspect. This applies to traditional two-tap shower configurations with separate hot and cold controls.
- With the water off, remove the tap handle by prising off the decorative cap and unscrewing the retaining screw beneath it. Slide the handle off the valve stem.
- Use a deep socket wrench to unscrew and remove the valve stem (also called the spindle) from the tap body. This requires turning counterclockwise.
- At the base of the valve stem, you will find a rubber washer held in place by a brass screw. If the washer is cracked, flattened, or has a groove worn into its face, it needs replacing. Take it to a hardware store to find an exact match by size.
- While the stem is out, also check and replace the O-ring, which sits around the middle of the spindle and prevents water from leaking around the handle. O-ring kits containing multiple sizes are available at any hardware store.
- Reassemble in reverse order, turn the water back on, and test. If the drip continues, repeat this process for the other tap (the opposite hot or cold valve).
Step 3: Inspect and Clean the Diverter Valve
If your shower has a diverter and the drip is specifically occurring from the shower head while in bath mode, the diverter valve needs to be inspected. This step applies to bath-shower combination units only.
- Remove the tap handle as described in Step 2. The diverter valve is typically located behind the tap handle or integrated into the spout.
- Carefully remove the diverter using pliers or a wrench. Inspect it for corrosion, physical damage, or visible mineral build-up. If it is corroded or cracked, replace it with a matching unit from a plumbing supplier.
- If the diverter looks intact but is coated in scale, soak it in white vinegar for one hour, then scrub and rinse before reinstalling.
- Reinstall the diverter and tap handle, restore water supply, and test by switching between bath and shower modes to confirm the drip has resolved.
Step 4: Replace the Cartridge Valve
If your shower uses a single mixer handle and Steps 1 through 3 have not resolved the leak, the cartridge valve needs replacing. This is a more involved repair but is still within reach for a confident DIYer with the right parts.
- With the water supply isolated, remove the mixer handle by taking off the decorative cover plate and unscrewing the retaining screw. The cartridge will be visible inside the valve body once the handle is removed.
- Note the orientation of the cartridge before removing it — it must be reinstalled in exactly the same position. Photograph the assembly if needed.
- Remove the cartridge retaining clip or nut (this varies by brand) and pull the cartridge straight out. If it is stuck, use a cartridge puller tool rather than forcing it with pliers, as this can damage the valve body.
- Take the old cartridge to a plumbing supplier with the brand name of the shower to get the correct replacement. Do not substitute a different model — cartridges are not universal.
- Insert the new cartridge in the correct orientation, secure the retaining clip or nut, reattach the handle, restore water supply, and test the shower through its full range of motion. Turn off and confirm the drip has stopped.
When DIY Repair Reaches Its Limits
The steps above resolve the majority of leaking shower head issues in residential homes. However, there are situations where calling a licensed plumber is the right decision — and attempting to go further yourself can make the problem more expensive to fix.
- The leak is inside the wall: If water is appearing at the base of the wall, seeping around the shower rose arm fitting, or if the wall feels soft or damp to the touch around the shower fitting, there may be a pipe connection failure or waterproofing breach behind the tiles. This requires professional diagnosis and likely tile removal to access.
- You cannot identify the correct replacement part: If the shower brand is obscure, unlabelled, or the cartridge cannot be matched, a plumber with access to trade suppliers and technical documentation is better placed to source and fit the correct part.
- The drip returns shortly after repair: If a washer or cartridge replacement resolves the drip temporarily but it returns within a few weeks, the cause is likely elevated water pressure or a failing valve body rather than a worn seal. A plumber can test the pressure and identify whether a PLV adjustment is needed.
- The valve body is damaged: If the tap or mixer body itself is cracked, corroded, or stripped, no seal replacement will hold. The entire fitting needs replacing, which requires cutting the water supply line and soldering or pressing a new connection. This is licensed plumber work.
- You are unsure about any step: In Victoria, it is a legal requirement that all plumbing work that involves connecting to or modifying water supply or drainage fittings is carried out by a licensed plumber. Homeowners can replace consumable components like washers and shower heads, but if the work extends to the tap body or supply connections, a licence is required.
How to Prevent Shower Leaks from Returning
Once you have fixed the drip, a few simple maintenance habits will extend the life of your shower fittings and reduce the likelihood of the problem returning.
- Clean the shower head regularly: Descale the shower head every three to six months using a vinegar soak. This prevents mineral build-up from accumulating to the point where it affects the seal or blocks nozzles. For Bacchus Marsh homes with harder water, cleaning every three months is advisable.
- Do not overtighten taps: Forcing a tap handle past the closed position accelerates washer wear. Turn taps off firmly but without excessive force. If a tap requires significant force to stop dripping, the washer needs replacing — do not try to compensate by tightening harder.
- Check your water pressure: Ask your plumber Bacchus Marsh or Melton to check your water pressure during their next visit. If it is above 500 kPa, having a pressure limiting valve installed protects all the tap components, washers, and seals in your home simultaneously.
- Replace washers proactively: If one tap washer has failed, others in the same age group of fittings are likely close behind. Ask your plumber to replace the washers across all your shower and bath taps in one visit rather than waiting for each one to fail individually.
Frequently Asked Questions
How much water does a dripping shower head waste?
A shower head dripping at one drop per second wastes approximately 31 litres per day. Over a year, that adds up to roughly 11,000 litres. At a higher drip rate — say ten drops per minute — the figure rises to several thousand litres per year. For a household paying South East Water rates in the Melton or Bacchus Marsh area, this represents a measurable and unnecessary addition to your quarterly bill.
Can I replace shower washers myself in Victoria?
Yes. In Victoria, homeowners are permitted to replace consumable components including tap washers, O-rings, and shower heads without a licence. However, any work that involves modifying or connecting to water supply pipes or drainage fittings must be carried out by a licensed plumber. If you are unsure whether a job crosses that line, contact a licensed plumber for advice before proceeding.
Why does my shower head drip for a while after I turn it off?
A small amount of dripping immediately after turning a shower off is normal — it is residual water draining from the shower head and arm. This should stop within 30 to 60 seconds. If dripping continues beyond that, or if it restarts after stopping, the tap or cartridge is not sealing fully and one of the causes described in this guide is present.
Is a leaking shower covered by home insurance?
Most Australian home insurance policies will cover sudden and accidental water damage — for example, if a pipe connection inside a wall fails suddenly and causes damage. However, gradual damage caused by a slow, ongoing leak that was not reported or repaired in reasonable time is typically excluded. This is another reason to address a dripping shower head promptly rather than leaving it. Check your specific policy for the exact terms, as coverage varies between insurers.
Conclusion
A leaking shower head is one of those problems that is always easier and cheaper to fix early than after months of damage have accumulated. Whether your shower is dripping steadily, running after the tap is turned off, or you suspect the issue goes deeper than a simple washer, the best step you can take is getting it properly diagnosed and fixed by someone who knows what to look for.
At New Image Plumbing and Gas, we handle all types of shower repairs. From washer replacements and cartridge swaps through to full shower fixture replacements and leak detection behind tiles, we fix it properly the first time. No guesswork, no unnecessary upselling, just honest advice and reliable workmanship.
Call us on 0489 246 667 or submit our online form for a free quote. We are available 24 hours a day, 7 days a week, with same-day service for urgent repairs. Book before noon for guaranteed same-day attendance.