Pipe relining in Melton sounds almost too good to be true. You have a cracked or damaged drain running beneath your yard, your driveway, or even under your home’s concrete slab, and instead of excavating everything to reach it, a licensed plumber fixes the pipe entirely from the inside without a single shovel hitting the ground. For homeowners in Melton and Bacchus Marsh, where established gardens, paved driveways, and older clay-pipe infrastructure are common, this technology has been a genuine game-changer.
This guide walks through exactly how the trenchless pipe relining process works, step by step, so you know what to expect from start to finish. Whether you’ve been told your drain needs relining or you’re simply researching your options after a camera inspection flagged pipe damage, this is the clearest explanation of the process you’ll find.
Step 1: CCTV Camera Inspection
Every trenchless relining job begins with a thorough camera inspection. This step is non-negotiable, and any contractor who skips it should not be trusted with the work. Here’s what happens during this stage:
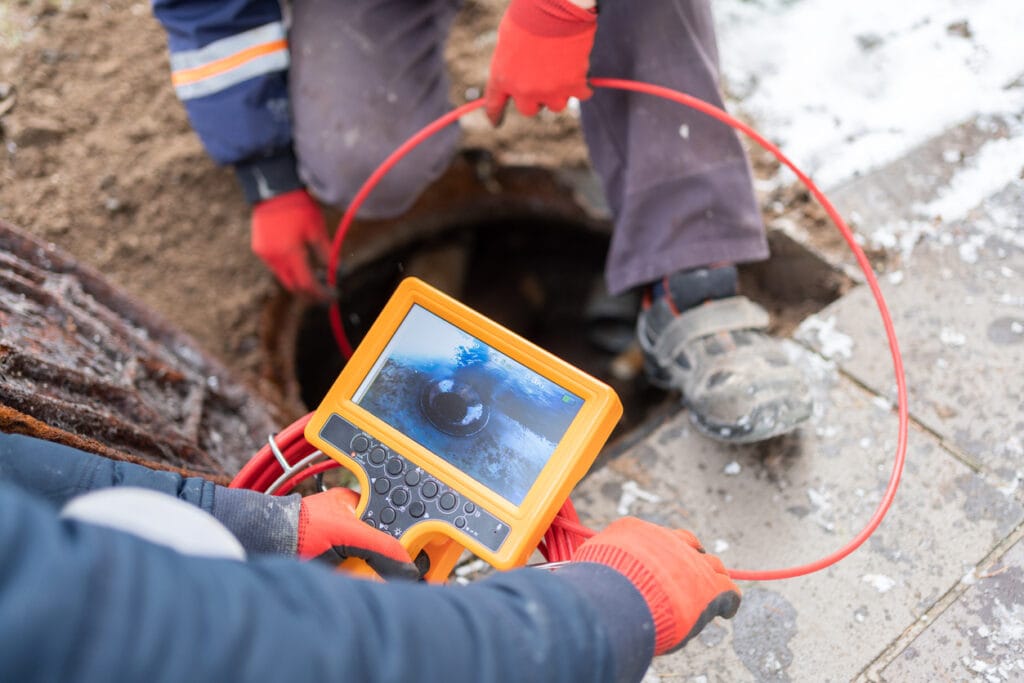
- A waterproof CCTV drain camera is fed through the pipe from an existing access point, such as a manhole, gully trap, or inspection opening.
- The plumber Melton watches live footage on a monitor and records the entire inspection for reference.
- The camera identifies the type of damage (cracks, root intrusion, corrosion, joint displacement, collapsed sections), its precise location, and the pipe’s diameter.
- The footage also determines whether the pipe is a suitable candidate for relining. Pipes that have completely collapsed or suffered major lateral displacement may require excavation and replacement instead.
- A written report and video record are typically provided to the homeowner after the inspection.
Clay pipes from older residential builds are frequently inspected at this stage. Clay pipes are particularly prone to root intrusion from established trees and shrubs, and the CCTV inspection pinpoints exactly where the roots have entered before any other work begins.
Step 2: High-Pressure Water Jetting
Once the camera has confirmed the pipe is suitable for relining, the pipe must be thoroughly cleaned before the liner can be installed. A dirty or debris-filled pipe prevents the resin from bonding correctly to the host pipe wall. This cleaning stage involves:
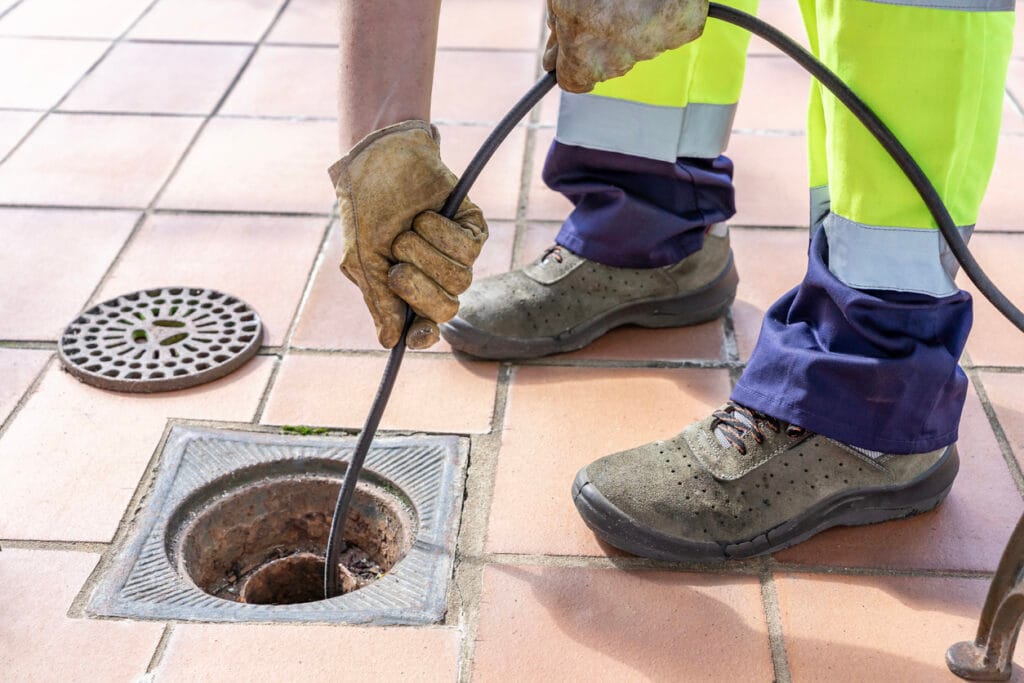
- High-pressure water jetting, which forces a powerful stream of water through the pipe at pressures that dislodge and flush out built-up grease, sediment, mineral deposits, and loose debris.
- Root cutting using a mechanical rotary cutter, which is deployed before jetting in cases where significant root masses have grown inside the pipe. The cutter trims the roots back to the pipe wall so the liner can seat flush against it.
- A second camera pass after jetting to confirm the pipe interior is clean and any remaining obstructions have been cleared.
This step can take anywhere from 30 minutes to several hours depending on the length of the pipe run and the severity of the blockage or debris build-up. Homes in Bacchus Marsh with mature native trees in established gardens often require the root-cutting step before jetting can be effective.
Step 3: Liner Preparation
The liner itself is what becomes the new pipe surface once the job is complete. Proper preparation of this liner is critical to the long-term success of the relining. This stage includes:
- Cutting the liner tube to the exact length required to cover the damaged section. The liner can cover a short section of pipe or an entire run, depending on what the camera inspection revealed.
- The liner material is typically a felt or fibreglass fabric tube that is flexible before resin impregnation but becomes rigid once cured.
- A two-part epoxy or polyester resin is mixed and then carefully applied to saturate the liner tube evenly. The resin must be distributed uniformly throughout the liner so there are no dry spots, which would create weak points in the finished pipe.
- The impregnated liner is kept cool until insertion to prevent premature curing. In warmer weather, this step must be managed carefully to keep the working time within the resin’s pot life.
The quality of the resin used matters significantly. Licensed relining contractors use tested, industry-rated resins that meet Australian standards for structural pipe rehabilitation.
Step 4: Insertion and Inflation
With the pipe cleaned and the liner prepared, the liner is inserted into the host pipe and positioned correctly. This is the step that most homeowners are curious about, because it seems almost impossible to do without digging. Here’s how it works:
- The impregnated liner is inserted using an inversion drum or a pulling technique, depending on the diameter of the pipe and the relining system being used. In the inversion method, water or air pressure is used to turn the liner inside out as it travels through the pipe, ensuring the resin-coated surface ends up pressed against the pipe wall.
- Once the liner is fully in position, an inflatable bladder is inserted inside it and inflated. The bladder expands and presses the liner firmly and evenly against the interior wall of the existing host pipe.
- The liner conforms exactly to the shape of the host pipe, covering every crack, sealing every joint gap, and blocking any points where roots have previously entered.
- Junction connections, where branch pipes connect to the main line, are reinstated using a robotic cutter once the liner has cured. This ensures side connections remain open and functional.
The entire insertion and inflation process typically takes between 30 minutes and 90 minutes for a standard residential drain run. For longer or more complex pipe configurations, it may take longer.
Step 5: Curing the Resin
With the liner inflated and pressed against the pipe wall, the resin must now cure and harden. This is the stage where the liner transforms from a flexible tube into a structurally sound, independent new pipe surface. Key details about the curing process:
- Curing time depends on the resin system and the curing method used. Ambient-cure resins rely on surrounding temperature and typically take two to four hours for residential relining jobs.
- Some liner systems use UV light curing, where a UV light train is pulled through the liner, triggering photochemical hardening in a matter of minutes. UV systems are faster but require specialised equipment.
- Hot water or steam curing is also used in some systems, where heated water circulated through the bladder accelerates the curing reaction significantly.
- While the liner cures, no disturbance to the pipe system is permitted. Homeowners will be advised not to use any toilets, showers, or drains connected to the line being relined until the curing is confirmed complete.
- Once curing is confirmed, the inflatable bladder is carefully removed, leaving behind the cured liner bonded to the host pipe.
Your licensed plumber Bacchus Marsh will confirm the expected curing window before work begins and advise you when the system will be back in service. For most homes, the drain is usable again the same day.
Step 6: Post-Installation Camera Check
The final step is a quality verification camera inspection. This is what separates a thorough relining job from a careless one, and it is the check that gives both the plumber and the homeowner confidence in the finished result. During this inspection:
- The CCTV camera is passed through the relined section from end to end to confirm the liner has cured evenly and is fully bonded to the host pipe wall.
- The camera checks for any delamination, wrinkles, or soft spots in the finished liner surface that could indicate an incomplete cure or preparation problem.
- Any junction reinstatements made by the robotic cutter are inspected to confirm the branch connections are fully open and correctly aligned.
- The footage from this final inspection is documented and provided to the homeowner as a record of the completed work and the condition of the pipe at handover.
A correctly installed CIPP (cured-in-place pipe) liner creates what is effectively a new pipe inside the old one, with a design life of 50 years or more. Once the post-installation check is signed off, the relining is complete and the drain is returned to full service.
Why Trenchless Relining Makes Sense for Homes in Melton and Bacchus Marsh
Homes throughout Melton and Bacchus Marsh present some of the most common conditions that make trenchless relining the preferred solution over traditional dig-and-replace methods. Here’s why it’s particularly well-suited to this area:
- Established gardens and mature trees. Many properties in Bacchus Marsh have long-established gardens with trees whose root systems have grown extensively beneath the yard. Excavating to repair a drain in these properties would mean significant damage to mature plantings and potentially to the tree roots themselves. Relining protects all of that.
- Concrete driveways and paving. Melton’s residential areas are full of fully concreted driveways and paths that would require breaking up and reinstating if traditional excavation were used. Relining eliminates that cost and disruption entirely.
- Older clay pipe infrastructure. Many properties in the area have original clay sewer pipes that are now 30 to 60 years old. These pipes are beyond their design life and prone to cracking and root intrusion, but they can often be relined rather than replaced, saving significant cost.
- Clay soil movement. Victoria’s western suburbs are built on expansive clay soils that shrink and swell with seasonal moisture changes. This movement stresses underground pipes and is a primary cause of joint separation and cracking. A relined pipe is a seamless, jointless tube that handles ground movement far better than the original segmented pipe.
- Council and authority requirements. In some cases, excavating near easements or public infrastructure requires additional permits and authority approvals. Trenchless work often avoids these requirements entirely.
Conclusion
Trenchless pipe relining is not a shortcut or a patch job. When carried out correctly by a licensed plumber with the right equipment and quality materials, it is a permanent structural rehabilitation of your drain that will outlast the original pipe it repairs. The six-step process, from CCTV inspection through to post-installation verification, is thorough, methodical, and designed to get the job done once and done properly.
If you have a cracked, root-intruded, or repeatedly blocking drain at your property, the team at New Image Plumbing and Gas can assess whether relining is the right solution. We carry out the full process from inspection to post-install verification, and we’ll show you the camera footage so you can see exactly what’s been done. Call us on 0468 125 098 or submit our online form to book your drain inspection today.
Frequently Asked Questions
Does trenchless pipe relining work for all types of damage?
Trenchless relining works well for cracked, root-intruded, corroded, or deteriorating pipes that still hold their basic shape. It is not suitable for pipes that have completely collapsed, been crushed flat, or have major displacement at joints where the sections have separated significantly. A CCTV inspection before any work begins determines whether the pipe’s condition is suitable for relining or whether excavation and replacement is needed. In some cases, a partial excavation at one access point is combined with relining through the remainder of the run, which minimises disruption while still restoring the pipe fully.
How long does the epoxy liner take to cure?
Curing time depends on the liner system and ambient temperature. Most ambient-cure epoxy liners used in residential relining are ready for use within two to four hours after the bladder is inflated and in position. Some systems use UV light or steam to accelerate curing, reducing this to as little as 30 to 60 minutes. Your plumber will confirm the expected curing time before work begins and will advise you when the drain can be used after installation. For the majority of jobs in Melton and Bacchus Marsh, the drain is back in service the same day.
Is trenchless pipe relining a permanent fix or a temporary patch?
A correctly installed CIPP (cured-in-place pipe) liner is rated to last 50 years or more under normal operating conditions. It bonds to the host pipe from the inside and creates a structurally independent new pipe within the old one, seamless and root-resistant. It is a permanent structural rehabilitation, not a patch or temporary repair. Most quality liner systems come with a product warranty from the manufacturer, and reputable relining contractors will also provide a workmanship guarantee over and above that.
Can trenchless relining be done on the main sewer line, or only smaller drain pipes?
Trenchless relining is used on both domestic drain lines and larger-diameter sewer mains. Liner systems are available in diameters from 50mm all the way up to several hundred millimetres, making the process applicable to the full range of residential and light commercial pipework. A camera inspection determines the pipe diameter and condition before the correct liner size and system is selected. For Melton and Bacchus Marsh properties, the most commonly relined pipes are the 100mm sewer lines running from the house to the boundary inspection shaft, though branch lines inside the home can also be relined in many cases.